*This post does include affiliate links, I may or may not make commission off of these links but all opinions are 100% mine and are 100% honest*
So excited to have you all with me this week! I’ve got some really fun projects that I made using my Cricut Explore machine that you can follow along and make too! This month the theme was “Celebrations” and our team chose to have the theme “On the Table and Dreaming”. What is that, you ask? Well, we wanted to explore different ideas that you can put on your table throughout the year…from baby showers to holidays and everything in between.
So today was my absolute favorite project.

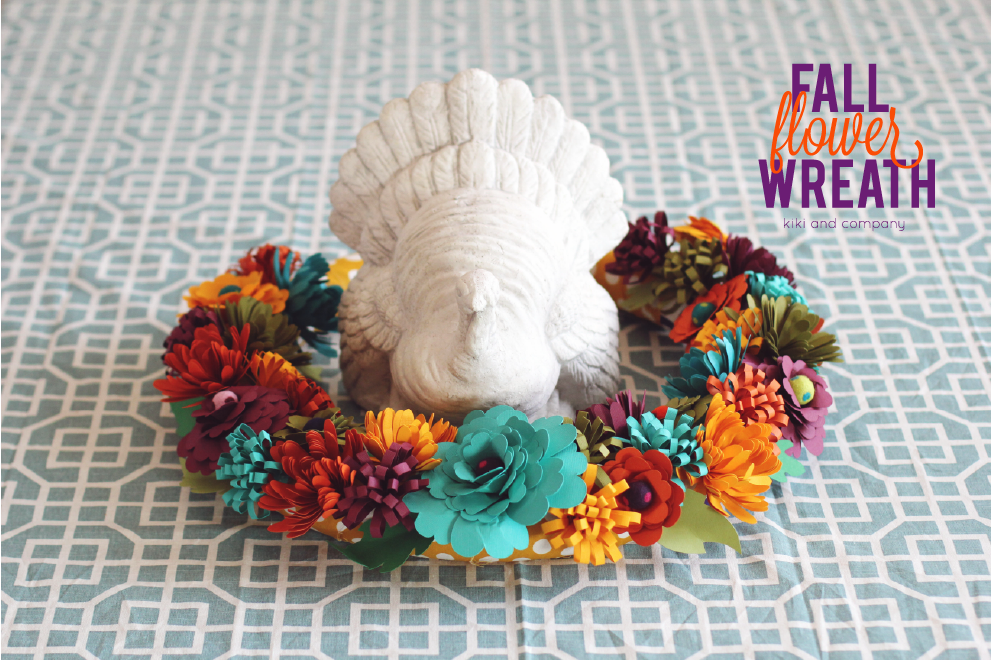
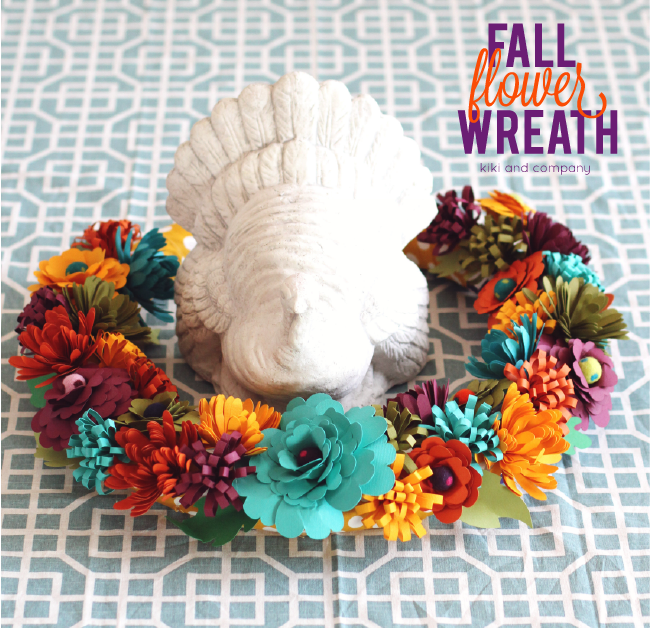
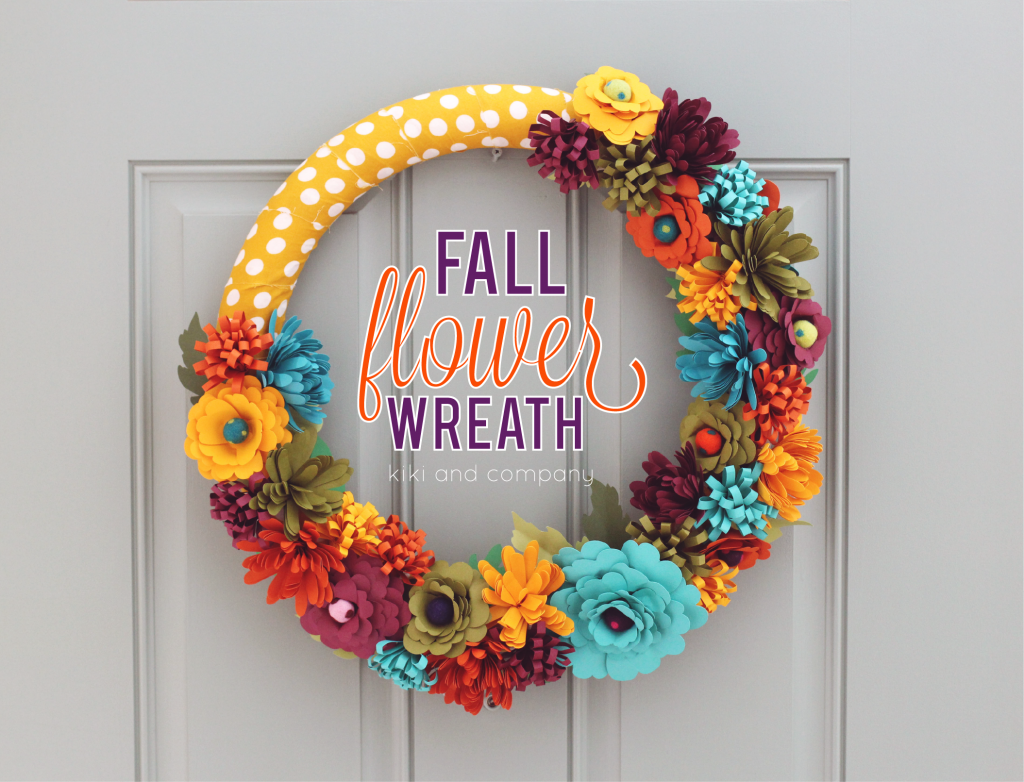
Today I want to share a wreath I made that can be used for SO many things. I LOVE wreaths on doors, on walls, as part of a gallery wall, etc. BUT what about as part of your centerpiece for Thanksgiving?!
I used a simple white turkey and placed it in the middle and just love the effect is has on my table.
Isn’t it gorgeous and understated, but super festive?!
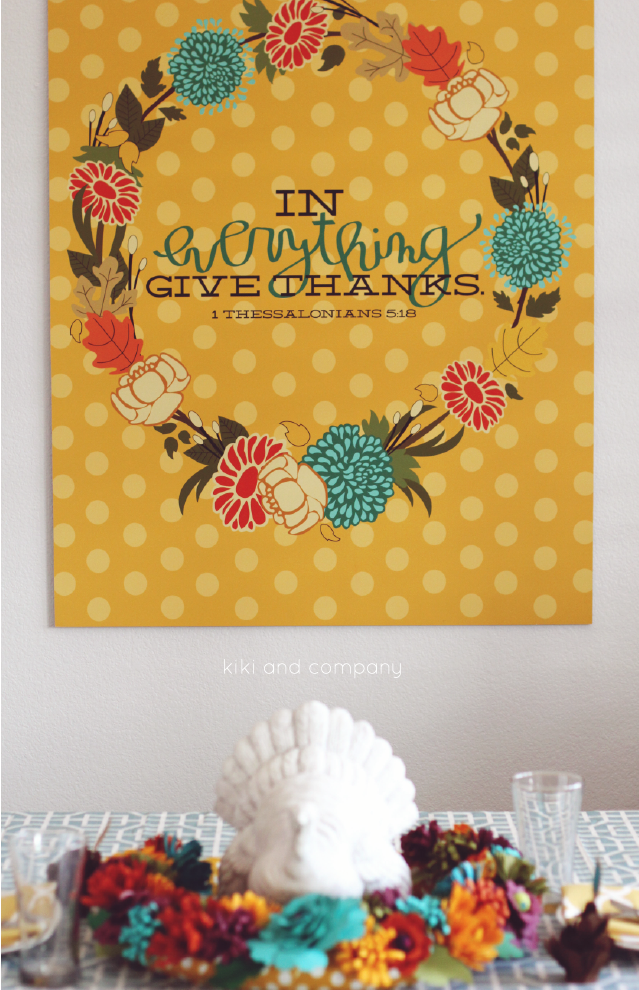
I love seeing all of these fun colors together both on my wall (see print HERE) and on my table. It screams fall, but with a few colors you wouldn’t normally use!
I just love this idea and wanted to share how to make those sweet flowers/leaves so you can make your own in whatever colors/patterns and combinations you want!
Let’s make this wreath!
SUPPLIES:
*wreath form (you can make this any size you want)
*cardstock in any color/pattern you LOVE
*hot glue
*Cricut Explore (this will make it SUPER easy)
THE FLOWERS:
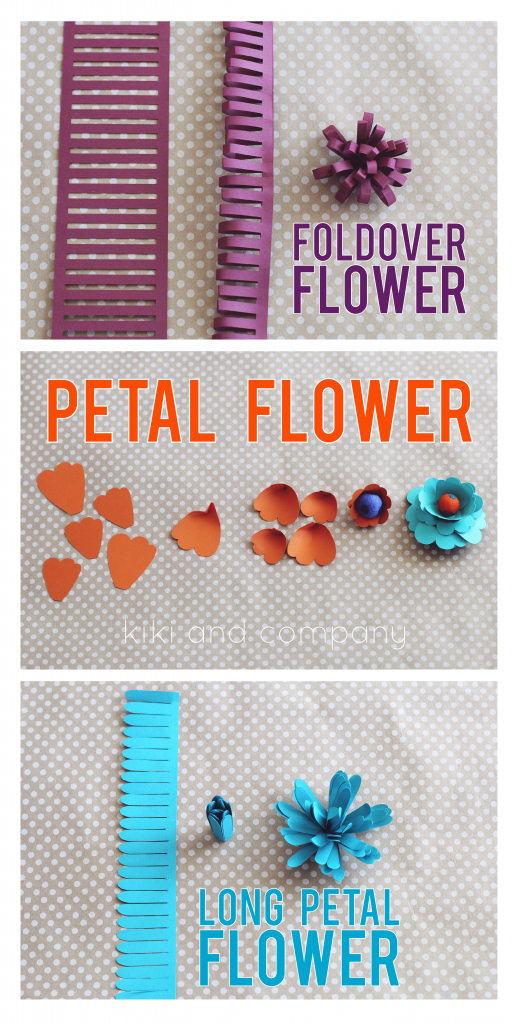
Foldover Flower: After cutting out the pattern, simply fold over the design and glue the sides together. Start rolling the flower, tacking the beginning down with glue. Roll until you are at the end and put a dab of glue to seal it. Then simply fluff out the petals with your finger.
Petal Flower: For each small flower you will need 6 small petals and 4 large petals. You can make these as big as you’d like by adding more petals. Once cut, fold the base of the flower in from one corner and then fold in from the other corner to make a point in the back. (see pic) Before gluing, put your finger in the point and smush the point in the back. Now use a felt ball (or anything you have on hand) to glue into one of the small petals. Add 2 more small petals around the ball. Add another row of small petals behind the first. Lastly, glue the large petals around the back. I then went in and folded and shaped the tops of the leaves until I liked how they looked!
Long Petal Flower: Take cut out design and roll, tacking down the beginning with a bit of glue. Roll until you are done and use a dab of glue to seal. I did 3 layers for the large flowers and 2 for the small. then simple start at the base and pull each individual petal down shaping the petal up a little at the end.
To Put Together the Wreath: Take a foam wreath and wrap it with fabric. I knew I wanted mine to show a bit so I picked one that coordinated. If you don’t want yours showing, use any fabric you want. After wrapping the wreath, begin hot gluing those flowers on. Once you have it where you like it, cut out and add the leaves in. This really brings out those flowers and can hide any spots you make need to! Now you have made a wreath ready for any season (just change the colors you use!)
Use it on your door (to welcome your fall guests)
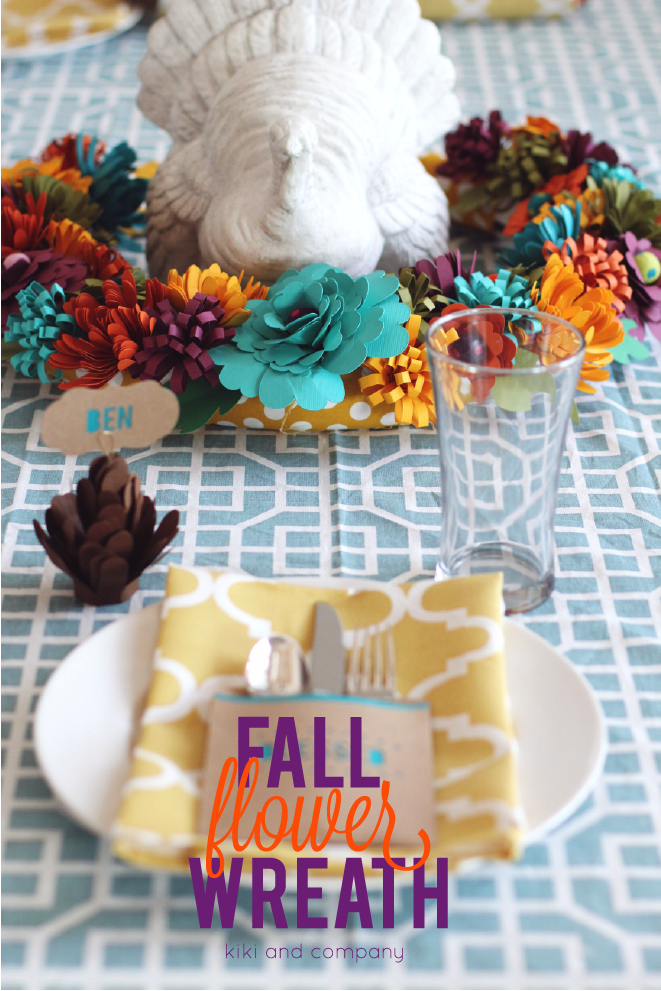
or use it on your table to bring punches of color and happy to your thanksgiving (or any other occasion) table!
You can download the free cut files (or pdf) to make these flowers by clicking the link below:
Free Fall Flower Wreath Flowers
I hope you have enjoyed these projects to make your Thanksgiving table one of the funnest around! And the best part…It is all made with paper so it is cheap and comes in SO many colors!
OTHER PROJECTS FROM MY THANKSGIVING TABLE :
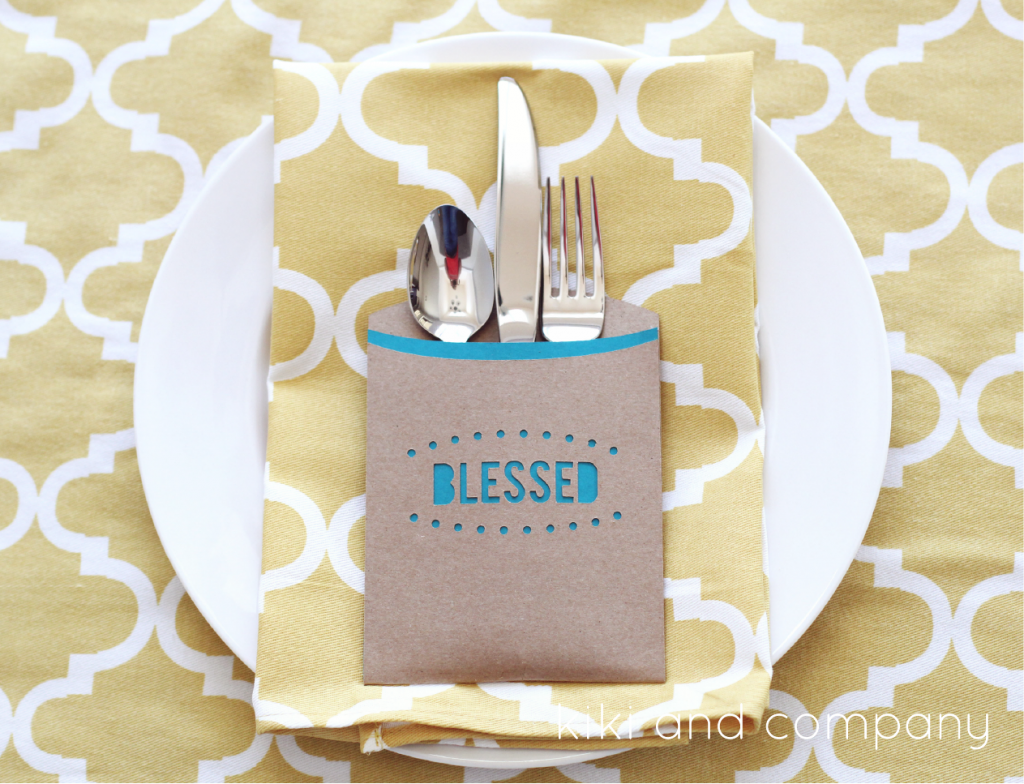
Thankful/Blessed Silverware Holder
Happy Making!


