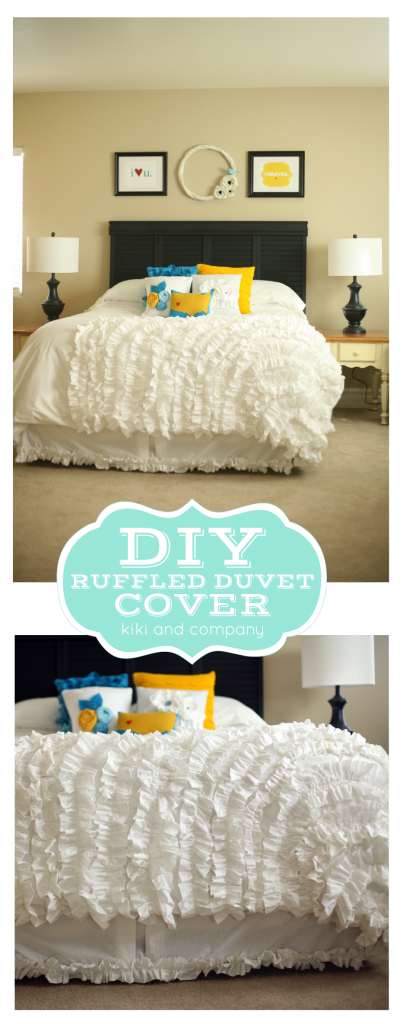
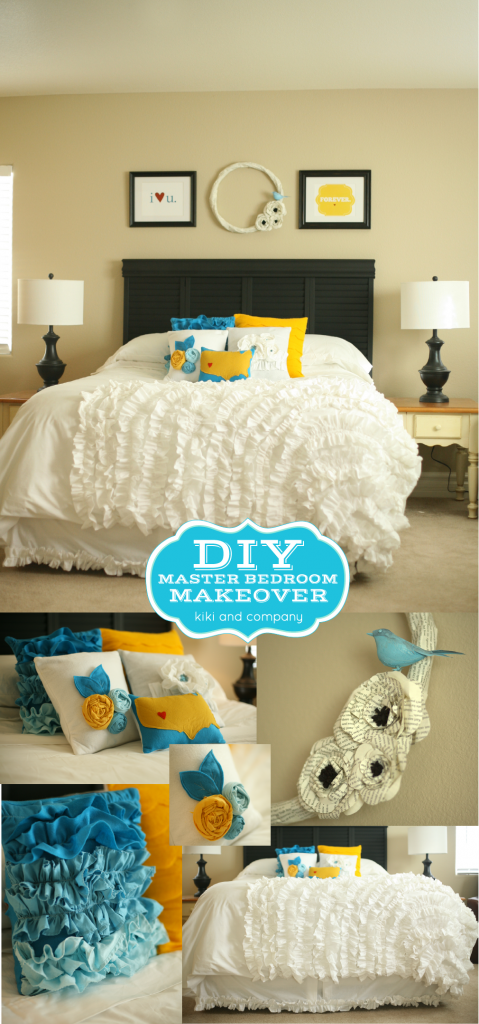
Alrighty folks..shall we get down to the nitty gritty about the duvet cover?
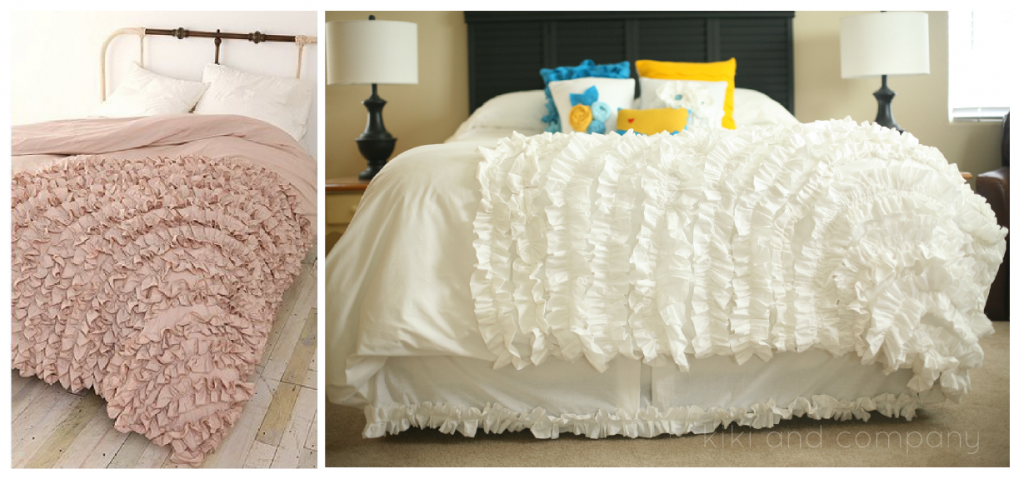
Here it is again, next to the inspiration piece from Urban Outfitters.
Let’s start out with the materials used:
*2- King size flat sheets.
( I got mine for $14 each from Wal-Mart. Make it as luxurious as you want by buying a high thread count sheet!)
*thrifted bedskirts, sheets and tablecloth.
*sewing machine
*LOTS of pins
*thread!
*quilting marker/light washable marker
Quick directions:
1. I washed and bleached my thrifted items to make sure they were super clean before I started sewing. You can also wash and dry your sheet set.
2. Sew right sides of sheet set on 2 sides together. I used the nice top as the top of my duvet cover. When both sides are sewed, turn it right side out and place your comforter in the duvet cover. I was making a queen size duvet cover so I had to cut down the sheet set. I simply used a light washable marker (yellow) to make my line where it was good to sew and cut. Remember to leave your seam allowance as well! Take your comforter out, turn it right sides together again. Finish your edges on the side you cut, then sew together. (Note: I also realized when I was sewing the ruffles, that it would have been easier to sew this all together at the end..either way will work, but the ruffles are very hard to sew when the duvet cover is sewn together…believe me, I did it!):)..so feel free to measure it all, then do the ruffles and sew them on, then come back and sew the finished top together!
(My first mountain of ruffles..I love them!)
3. Make a million ruffles! I know, really exact with my counting, huh?! I feel bad I wasn’t so exact with all my measurements and numbers..I did have a whole lot to finish in 3 days!:) I made 3 different types of ruffles: 1. I cut 9″ strips of fabric and sewed tubes, turned them right side out and ruffled them. 2. I cut 5″ strips of fabric, finished the unfinished edges and sewed them straight down the middle, ruffling along the way, then sewed on either side of the middle line ruffling as well. 3. I cut 4″ strips of fabric, finished the unfinished edges, and sewed down the middle, ruffling along the way.
4. Next comes the fun part! Lay out your ruffles on your duvet top, just as you want it, then pin it. (this is where it was difficult having the duvet cover already sewn!)
5. Sew, sew, sew.
6. Make your duvet cover closeable by adding button holes and buttons at the top, or sew ribbons at the top to close the top up!
7. Really that is all there was to it!
Q &A
1. Do you have to have a fancy machine or ruffler foot for your machine?
NO! I did this whole project on my basic machine..so I know ANYONE can do it on any machine. I love how my straight stitch is on my machine, thus why I used this one! I also love the uniqueness of the ruffles by doing them by hand.
2.Where did the inspiration for your bedskirt come from?
This may seem a bit strange, but it came from a girl who makes customized wedding dresses. Her site is HERE. Check out the bottom of that dress..isn’t it amazing. Totally wanted that look for the bed skirt.
3. Where did I get my lamps?
I LOVE them. I scored those babies at Home Goods. Can’t beat the prices there.:)
4. What is the color of my room?
I am renting right now, but they had an extra bucket of paint outside. It is Swiss Coffee by Glidden. It really is a nice nuetral color!
Thanks for stopping by. Let me know if you have any other questions!

