
Oh my goodness. I know this has taken forever to get up…but here it is..part 2 of the Cinderella Ball Gown. Part 3 will be up on Friday and that is the last part. To find part one, click here.
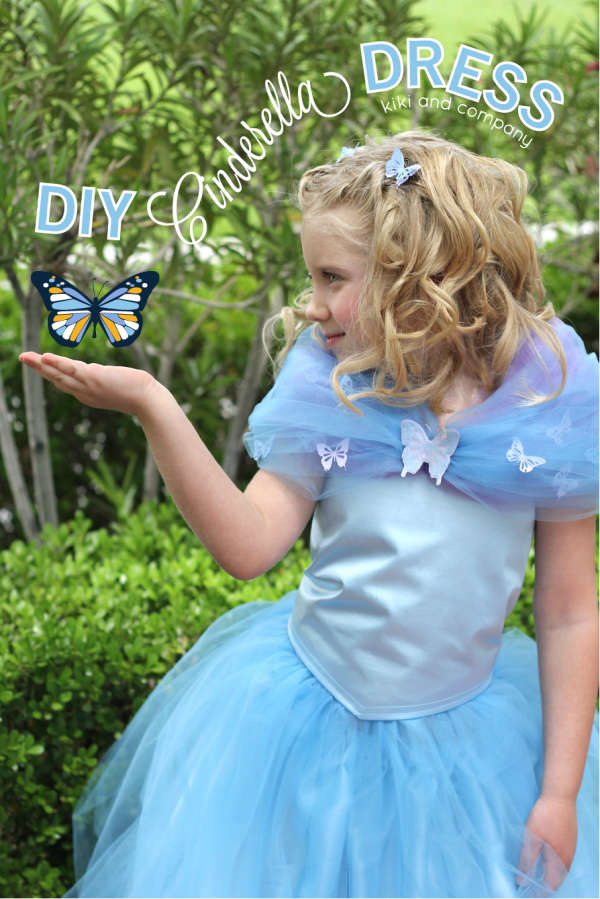
Today we are going to add the tulle part on to the top of the costume.

For this I used 1 yard of each the purple and teal tulle. I know you could probably do it with less, but I wanted the sleeves to be really full and wanted both of the colors to really pop.
INSTRUCTIONS:
- I started by laying the purple tulle and blue tulle on top of each other. (Blue on top of the purple.)
- Find the center and sew a line down the center, attaching the two.
- I then sewed it right into the middle of the top of the dress. I did this and put it right back on my daughter so I could figure out the arms.
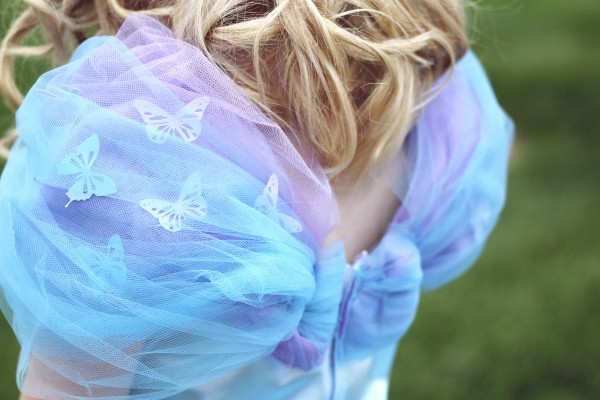
- After making the arms as puffy as I wanted them, I pinned the tulle where I needed it in the back. (This is the first line you see).
- I sewed that right to the dress and then simply made a small puff, turned the tulle edge in (trim it if you need to first) and sewed it right next to the edge.

- You will see one will be sewn so it meets the middle (This is the side that is on top), the other will meet the velcro. (Don’t sew on top of the velcro or it wont close!)
- Next, cut out your butterflies (file at end of post) using any electric cutting machine. I used a Silhouette to cut mine out. You can use any material you want, I used paper and then mod podged them on the front and back with a few coats to make them waterproof. My daughter has had this now for about 5 months and they are still in perfect condition. I had a great time placing the butterflies in and around the tulle to make them feel whimsical and alive! They look so fun on the dress!
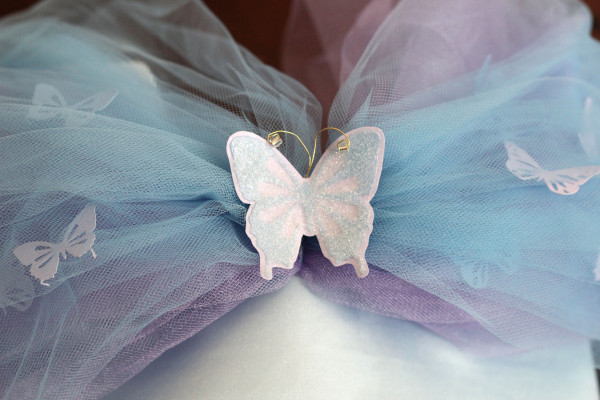
- To finish off the middle, I cut some larger butterflies and made a brooch with mod podge, glitter, wire and beads. You can make this however you would like, with whatever you have on hand, but then I just added a pin on the back and it was all done!
This top just makes the dress so that it feels like the real deal! I hope you are having fun sewing along with me…I’ll have the skirt for you on Friday!


