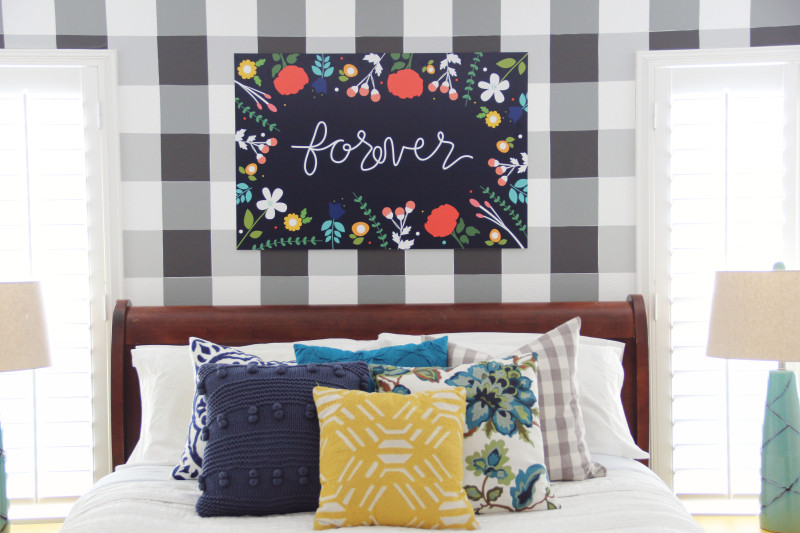
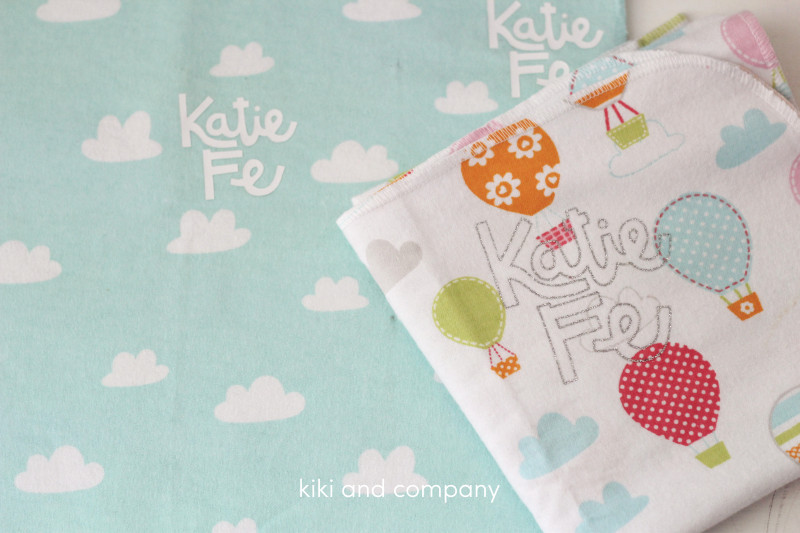
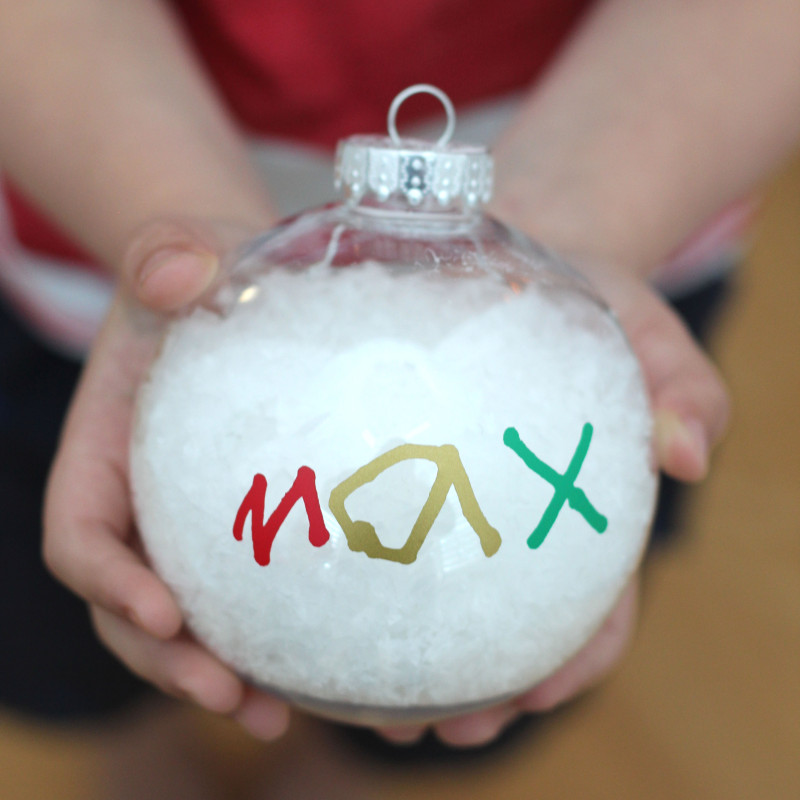
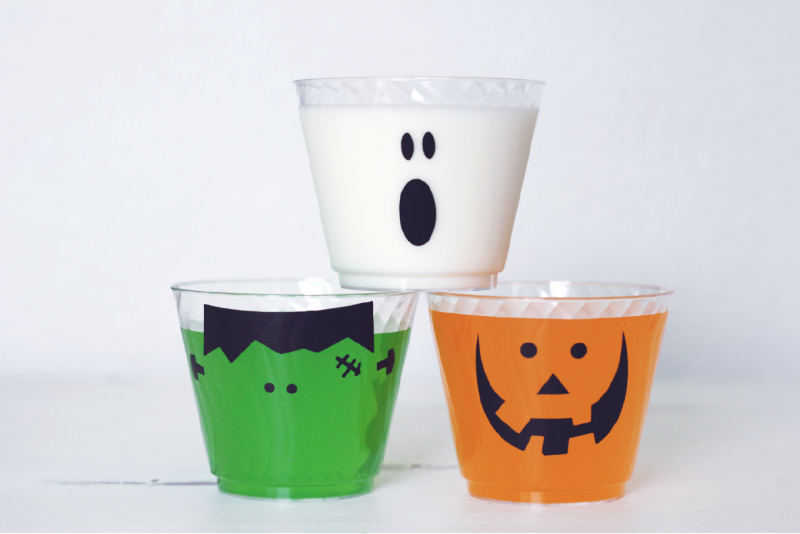
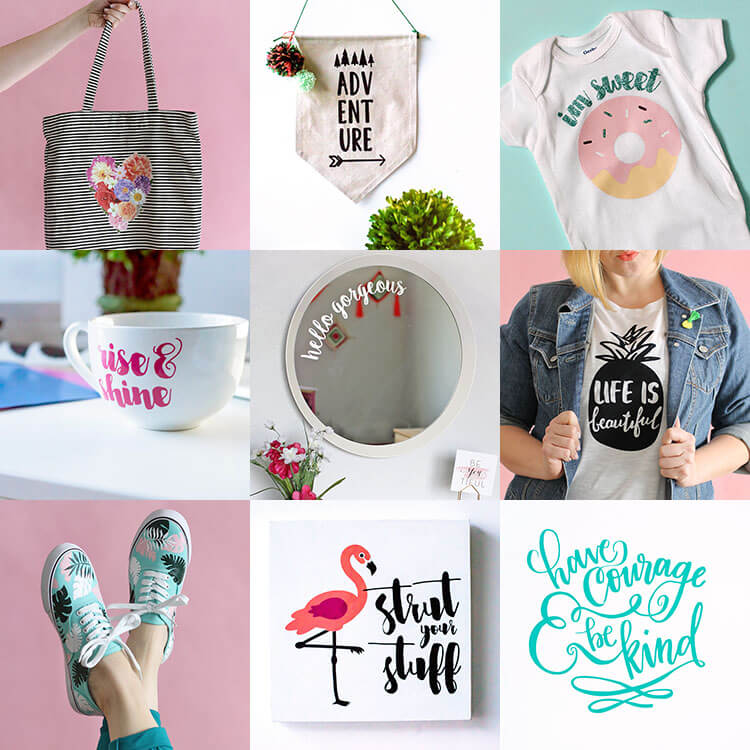
Oooh, have we got a treat for you today! Today I am excited to join in with other talented bloggers to share over 20 amazing vinyl projects with you all to celebrate the launch of Alexis of Persia Lou‘s new Craftsy Class – Silhouette Saavy: Venture into Vinyl, a brand new online video class that will teach you everything you need to get started cutting vinyl with your Silhouette. In the course, Alexis will walk you through creating eleven different vinyl projects. You will get all the cut files you need as well as video guidance for each step, and you will learn techniques such as layering adhesive vinyl, cutting large-scale decals, using the print and cut feature with printable heat transfer material, creating vinyl stencils for screen printing, and more.
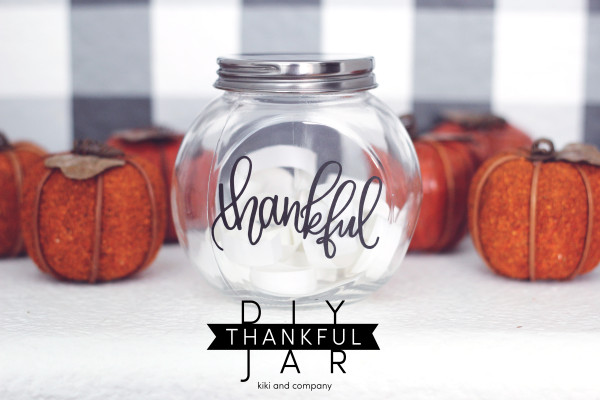
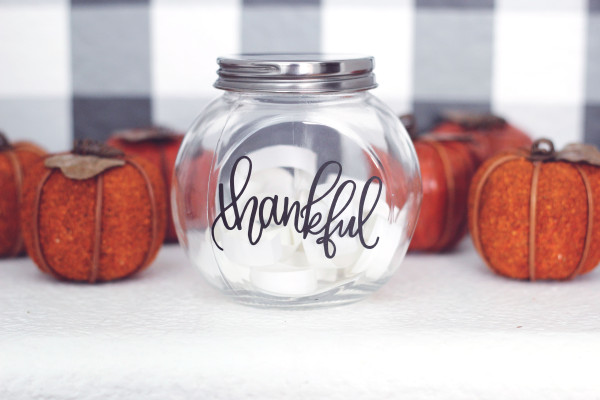
Today I am excited to show you how easy it is to make a quick thankful jar for upcoming Thanksgiving. My family does this in a new way each year, but THIS year, we made it simple with a jar and some simple pieces of paper. Each day, we write the things we are grateful for and then on Thanksgiving, we pass the jar around the table and take turns reading what we wrote. Some are silly, some are sweet, but the mix just makes for some great conversation and helps us remember how blessed we are.
Let’s get going!
SUPPLIES:
Expressions Vinyl Adhesive Vinyl in Jet Black
Jar
Rad and Happy Thankful from Cricut Design Space Library
Directions:
1- Measure jar to know what size to make your word.
2- In Design Space, search “Thankful Rad and Happy” and this image will come up with a banner.
3-After bringing it up, I simply clicked the eye (view) over on the mat view and got rid of the banner.
4- Size “thankful” to how big you want it.
5- Load vinyl on mat and cut.
6- Using weeding tool, weed the outer part of the word out (everything around the word).
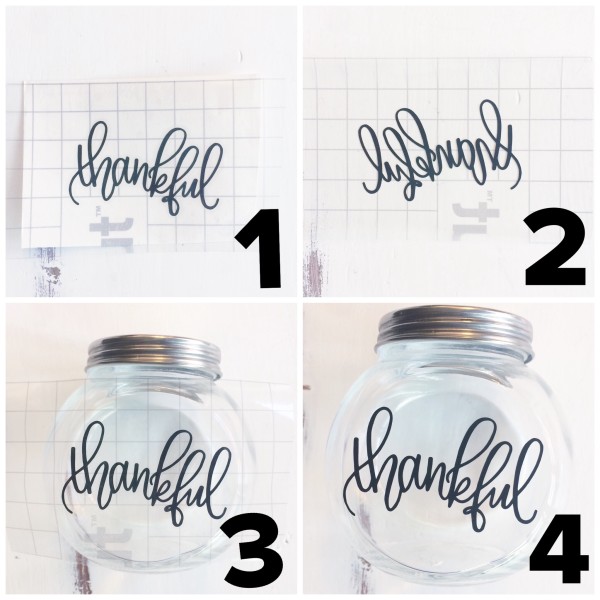
7- Put a piece of transfer tape over the top (Image 1)
8- Peel the transfer tape back and you should have your image only on there. (Image 2)
9-Using transfer tape is so nice because you can see through it and know where you are putting your image. Place your image down on the jar. (Image 3)
10-After apply pressure with finger or with credit card, peel back transfer tape and you are all done! (image 4)
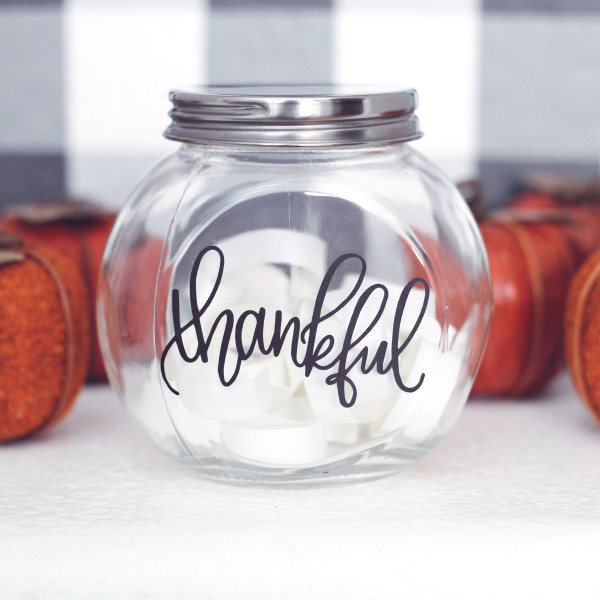
How fun and easy is that, right? Now that you’ve made that, run over to all of these other awesome bloggers and check out how easy and versatile vinyl can be!
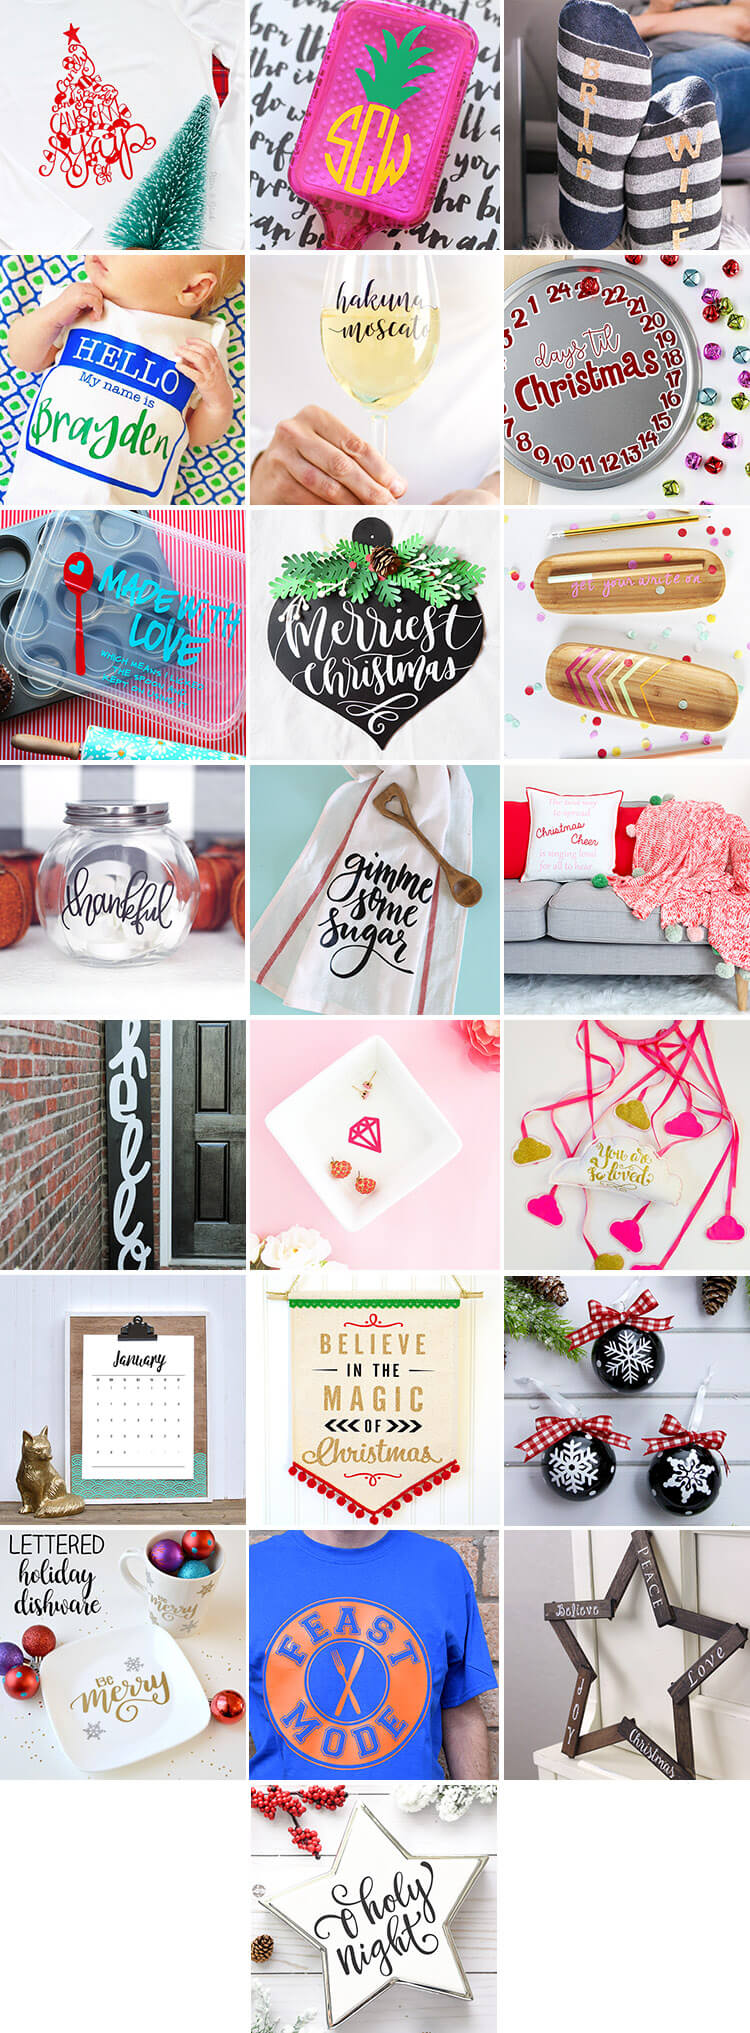
Hand Lettered Elf Food Groups T-Shirt – Pitter and Glink
Monogramed Hairbrush – The Craft Patch
Bring Wine Winter Socks – Tried & True
Hello My Name Is Personalized Newborn Onesie – Where the Smiles Have Been
Hakuna Moscato Wine Glass Decal – That’s What Che Said
Vinyl Christmas Countdown – Sugar Bee Crafts
Made with Love Vinyl Gift – A Girl and a Glue Gun
Merry Christmas Door Hanger – Minted Strawberry
Get Your Write On Pencil Holder – Delineate Your Dwelling
Thankful Jar – Kiki & Company
Gimme Some Sugar Hand-Lettered Dish Cloth – Persia Lou
DIY Elf Quote Christmas Pillows – A Kailo Chic Life
Giant Hello Sign Tutorial – Ginger Snap Crafts
DIY Diamond Trinket Dish – Maritza Alisa
DIY Baby Mobile – Sew What Alicia
DIY Framed Clipboard – Sisters What
Believe in Magic Christmas Banner – Happiness is Homemade
Chalk Style Snowflake Ornaments – Flamingo Toes
Merry Plate – One Artsy Mama
Feast Mode Thanksgiving T-Shirt – Dream a Little Bigger
DIY Christmas Star – Cutesy Crafts
O Holy Night Christmas Star – A Pumpkin and a Princess
Tis The Season Shadow Box – Practically Functional
Now, time for our giveaway! One of you lucky folks will win everything you need to start making your own amazing vinyl projects! The prize includes a brand new Cameo 3 (yay!), a collection of vinyl, and the Silhouette Saavy: Venture into Vinyl Craftsy Class. The giveaway is open to U.S. Residents only (sorry, international friends) 18 or older and will close midnight Monday 11/21 Pacific Time.
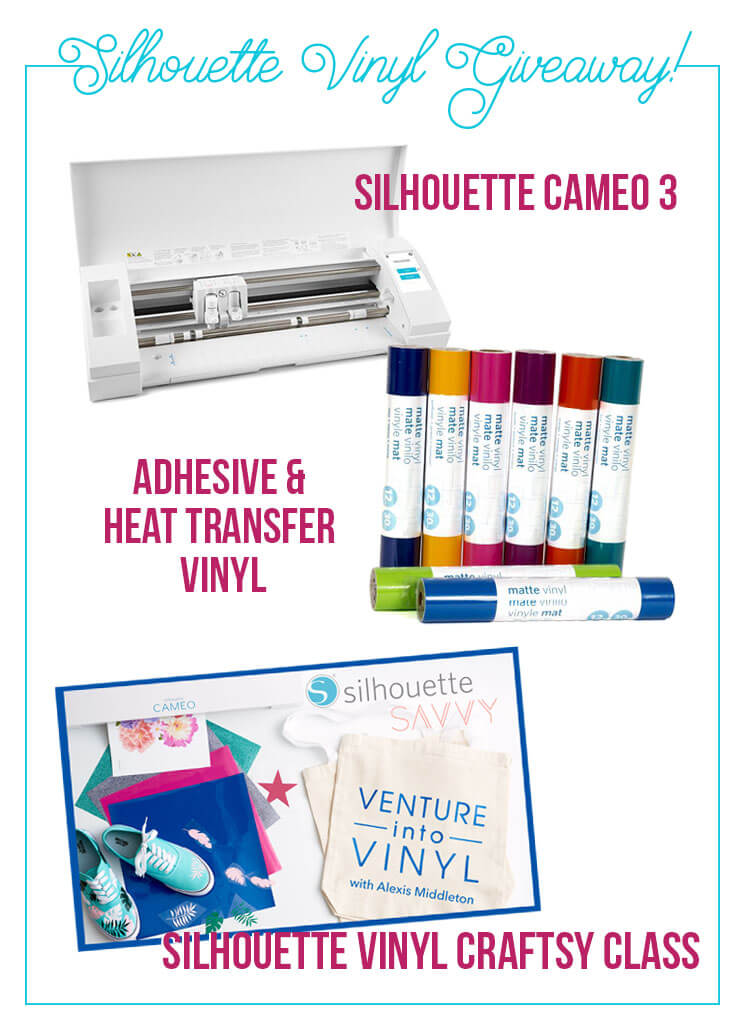
Good luck!
Thank you to Expressions Vinyl for providing awesome vinyl to our awesome bloggers, and thanks to Persia Lou, Silhouette, and Craftsy for sponsoring our giveaway!


