
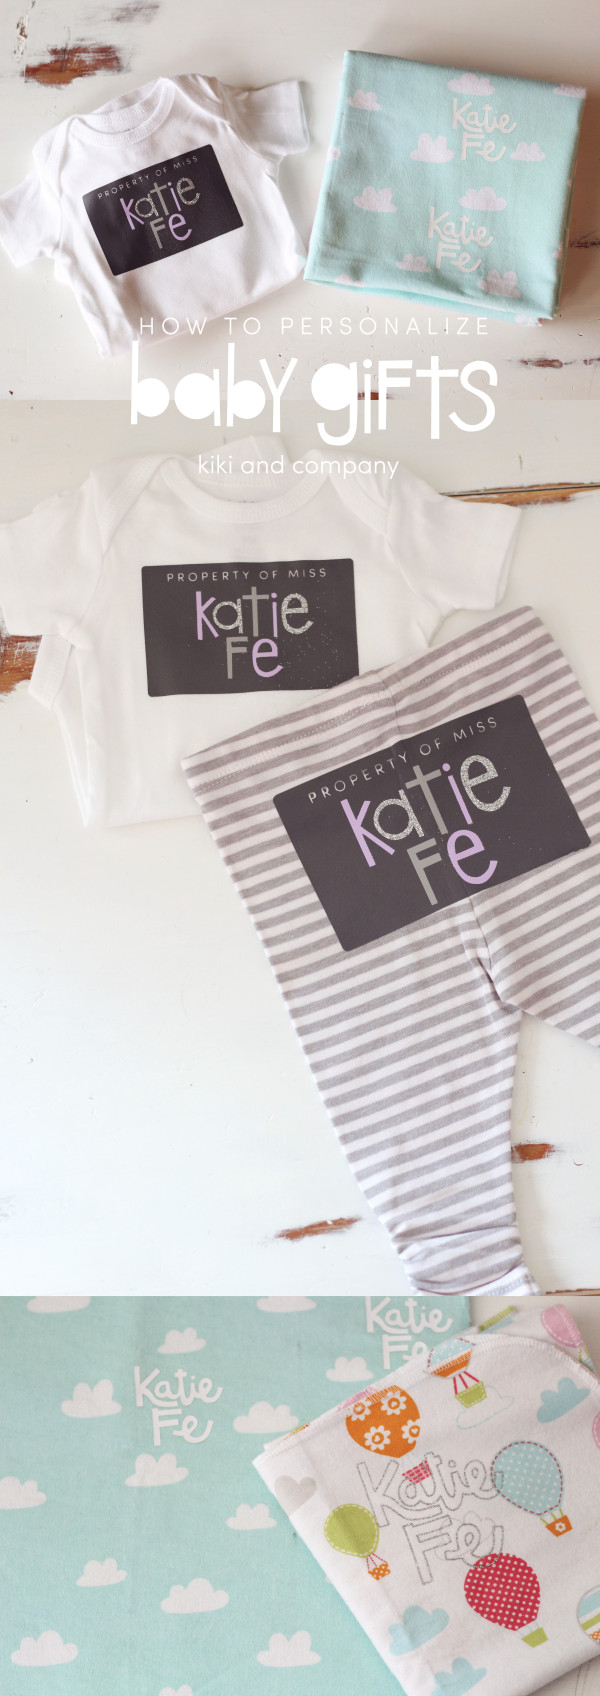
Oh, how I LOVE Baby Showers and celebrating the momma to be. There is nothing more that I love to give than a personalized gift and there is NO easier way to do that than to use a Cricut to do it! Today I am going to show you how to take your own images or doodles and upload them to Cricut Design Space to personalize any gift you want.
There are many reasons I love my Cricut Explore Air 2, but as someone who loves to doodle and design, the ability to take my designs and images and turn them into designs to put on other surfaces is incredible. I want to show you how easy it is today.
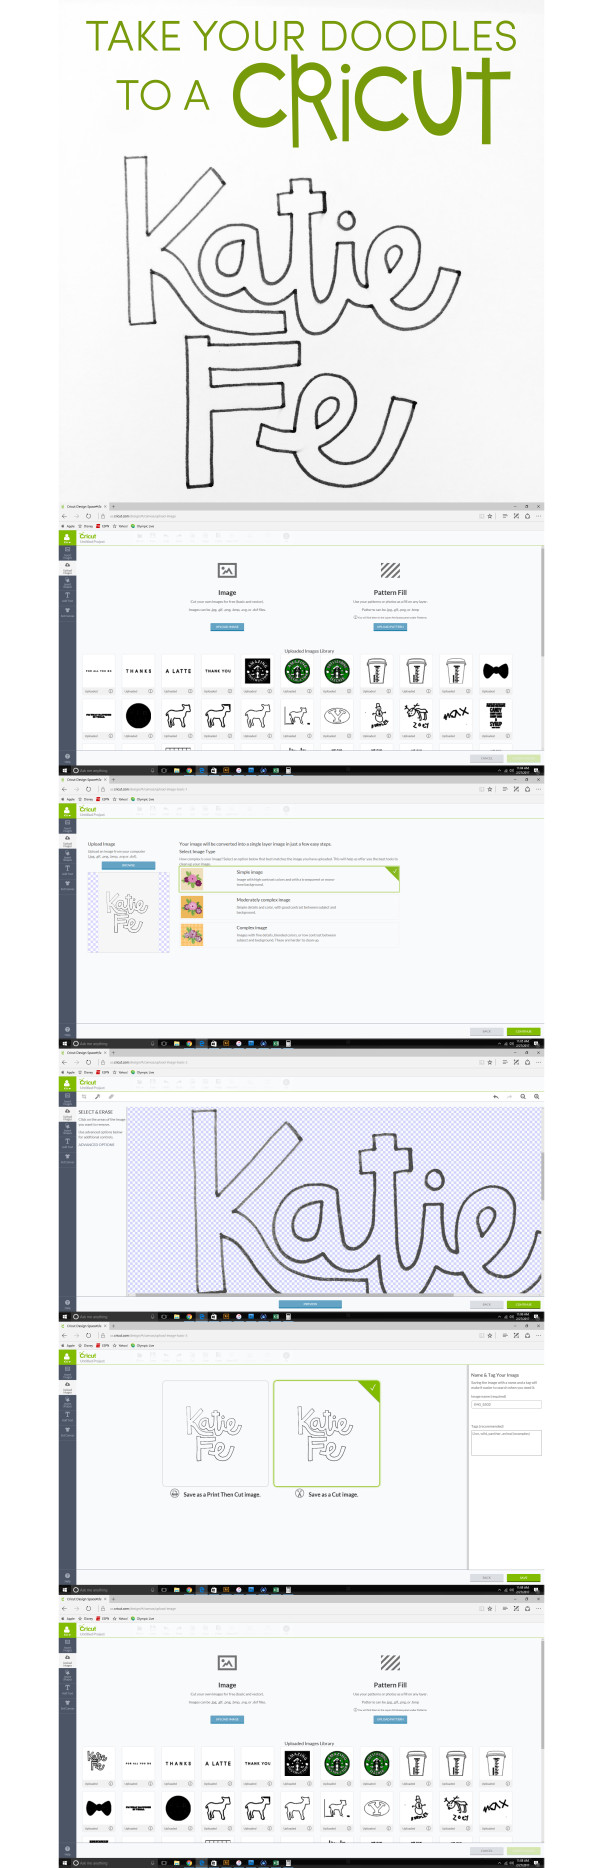
First, let’s learn how to take those doodles into Cricut Design Space.
1- Draw your design. Make sure your final is simple and outlined in black pen.
2- Take a picture of your design with your phone. Edit it to black and white. Make the contrast as high as it can go.
3- Open Design Space and Create a new project.
4- (first slide) Click on Upload Images and it will take you to this screen. Click on Upload Image and pull your photo in.
5- (second slide) When you bring your image in, click on simple image.
6- (third slide)Now you are going to click and make transparent all but your black line.
7- (fourth slide) After pushing Continue, click on Save as Cut Image and then Next.
8- (fifth slide) This will load your image right into your upload library and you can take it right in to your project to make it as big or as little as you want.
Now that we know how to take our images in to Design Space, let’s make some baby gifts. I made two images..one to put on a shirt/pants set and one to add to blankets.
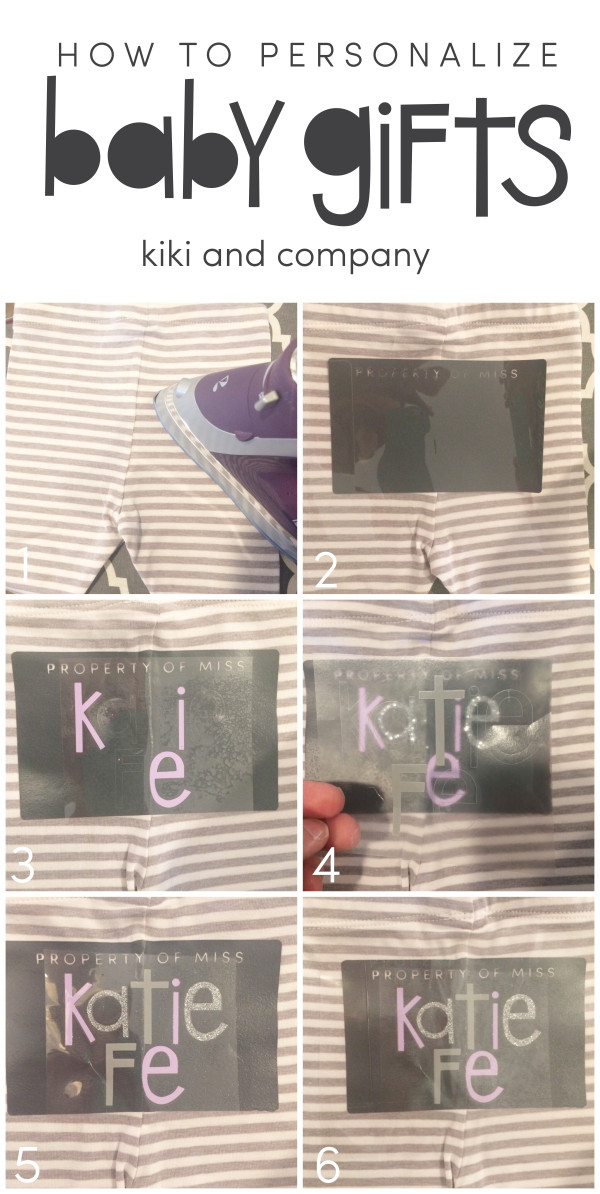
Once you get the vinyl cut out and ready to iron on to your items, here is how you will layer it:
1- Iron your piece that you will be putting the vinyl on. I like to place the vinyl down when it’s warm. I find it adheres better.
2- Next place your first piece down. Iron it on and take the plastic off. I LIKE TO SAVE THIS PIECE BECAUSE IT IS USUALLY THE BIGGEST PIECE OF PLASTIC. I USE IT EACH TIME AFTER PLACING THE NEXT PIECE ON, THEN COVER IT ALL WITH THE LARGE PIECE SO YOU DON’T IRON DIRECTLY ONTO THE VINYL.
3- PLACE NEXT LAYER DOWN AND IRON.
4- I love that you can see where these next layers go. Can you see on the top layer where the other letters go…it makes it super easy to just place them right over and know that you won’t mess it up!
5-Here you can see how I put my last layer on and 6-put the big piece of plastic over to iron.
You are done! The projects are limitless!
To make these projects you will need:
Iron On Vinyl – I get mine from Cricut and Expressions Vinyl
Weeding tool
Baby clothes and blankets
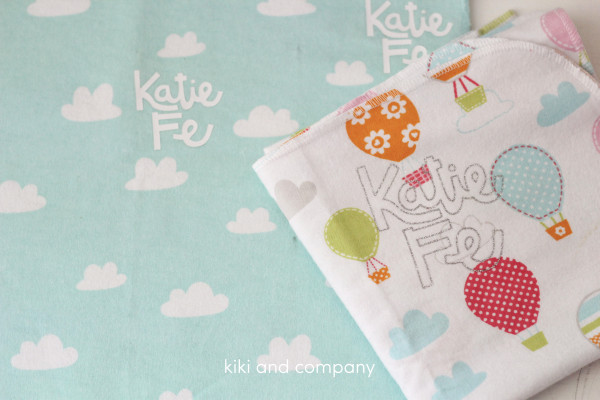
I had an ah-ha moment when I made this blanket from one of those 4 packs of receiving blankets you can make. I made my image just 2″ square and ironed them in between the clouds all over.
HOW CUTE IS THAT BLANKET?!
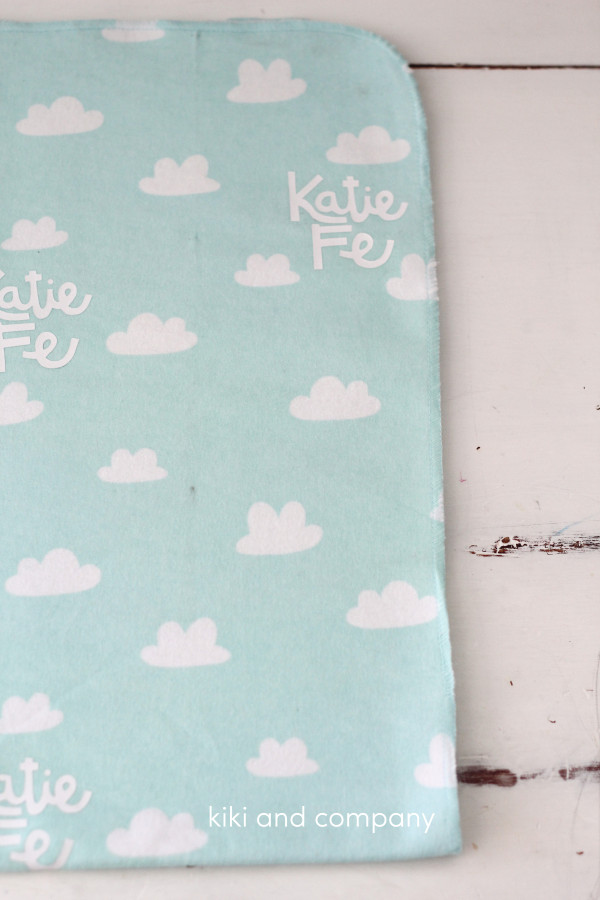
Or you can add just a simple name to any blanket to personalize it:
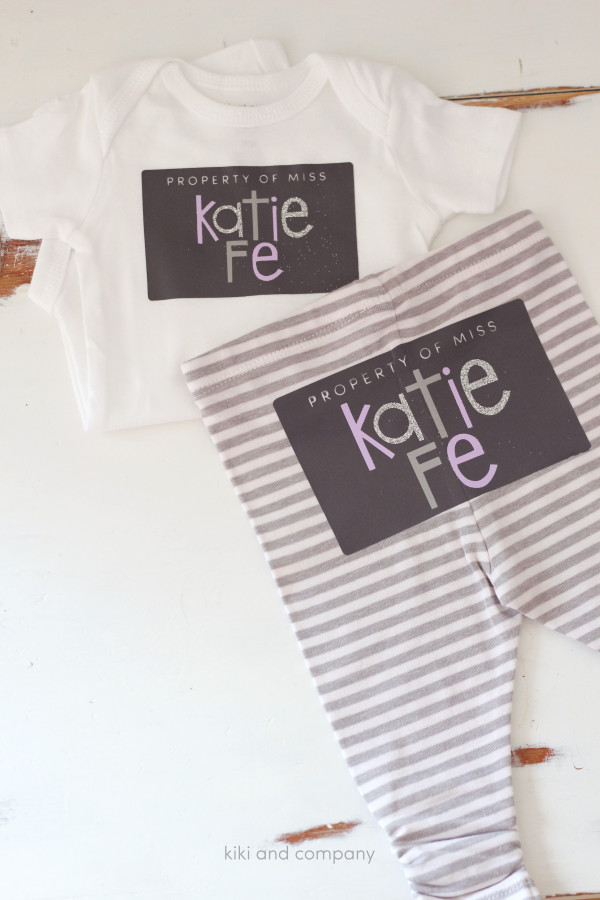
I also am obsessed with athletic gear and wanted to make a simple label for a shirt and pant set.
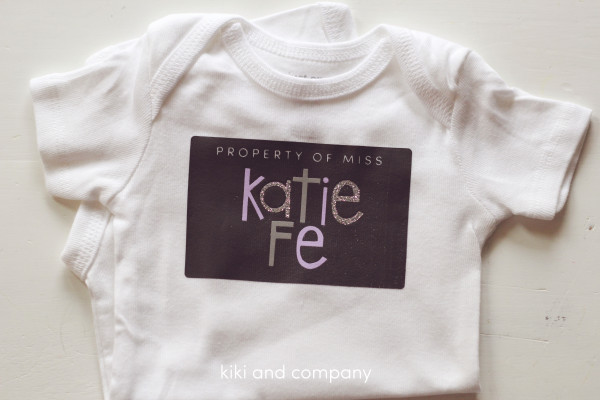
It turned out so adorable:
I hope this got your wheels turning on how versatile your Cricut Explore 2 can be. I LOVE making personalized gifts and it just makes it a million times easier!
This is a sponsored conversation written by me on behalf of Cricut. The opinions and text are all mine.
This post contains affiliate links. Thanks so much for helping to support my blog!


